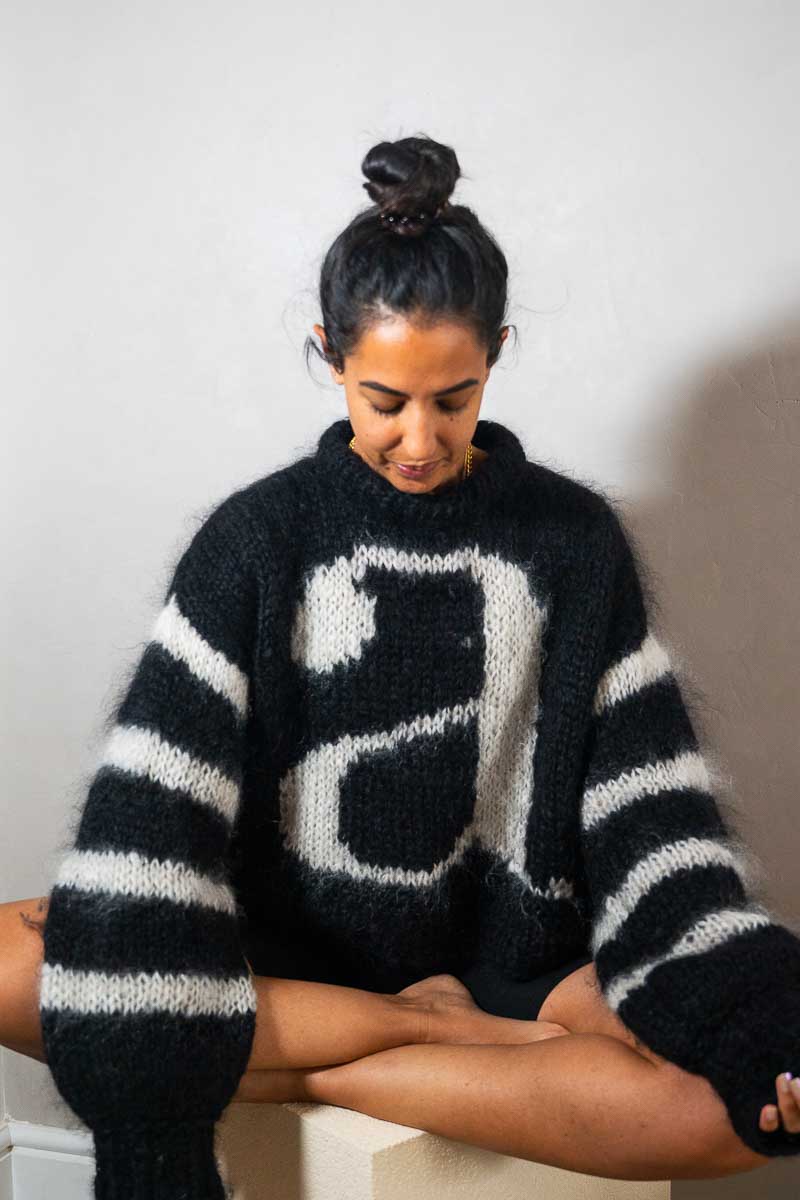
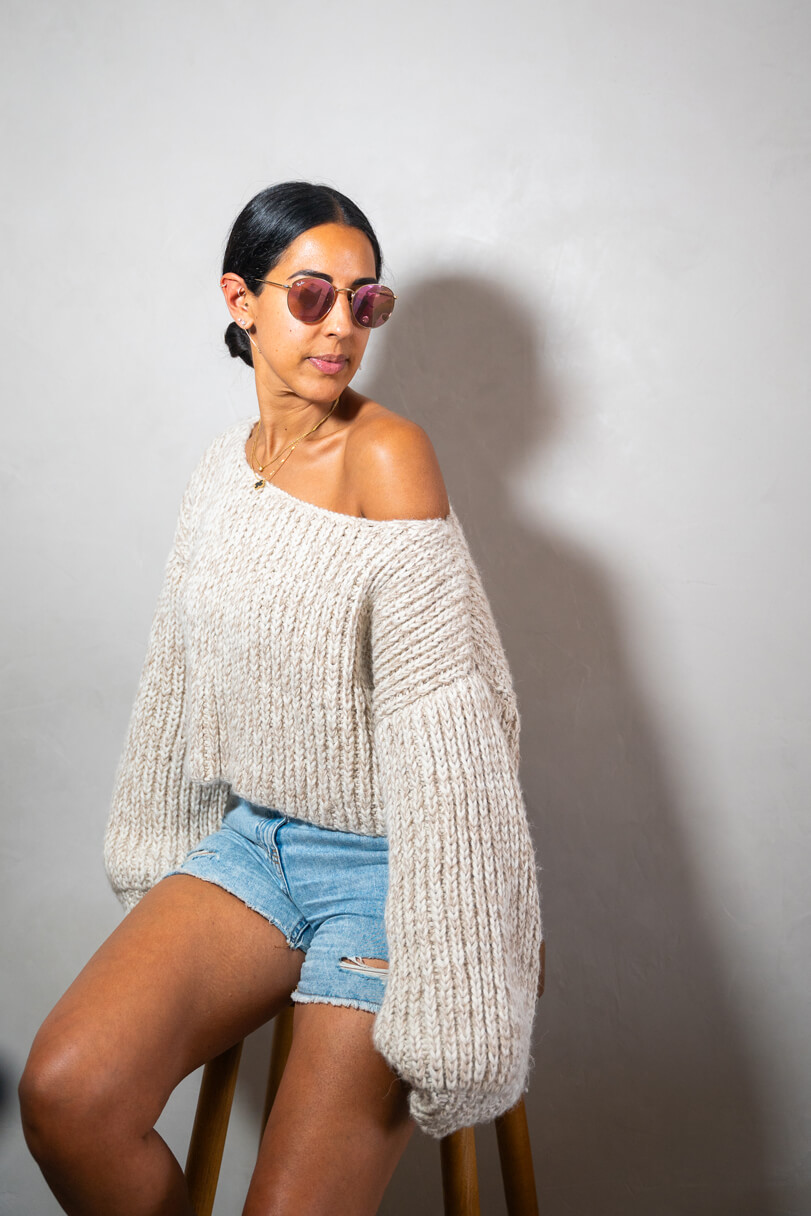
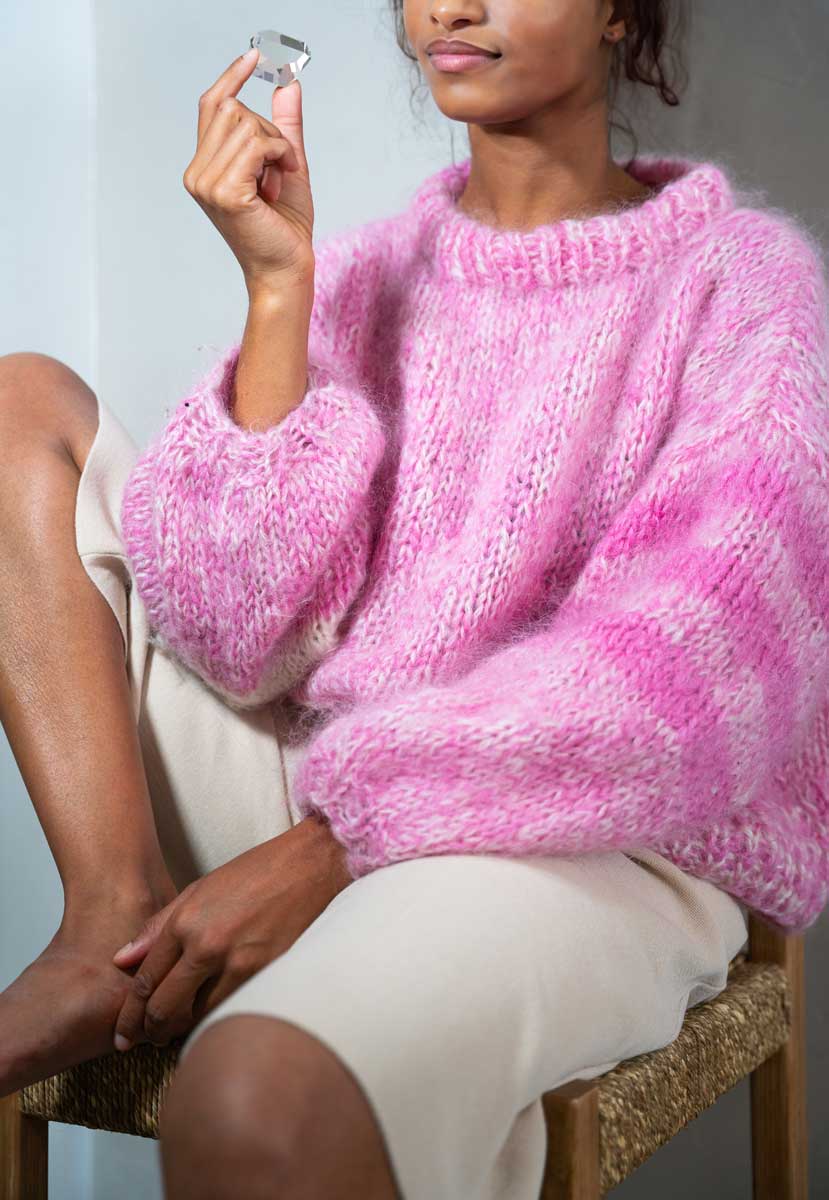
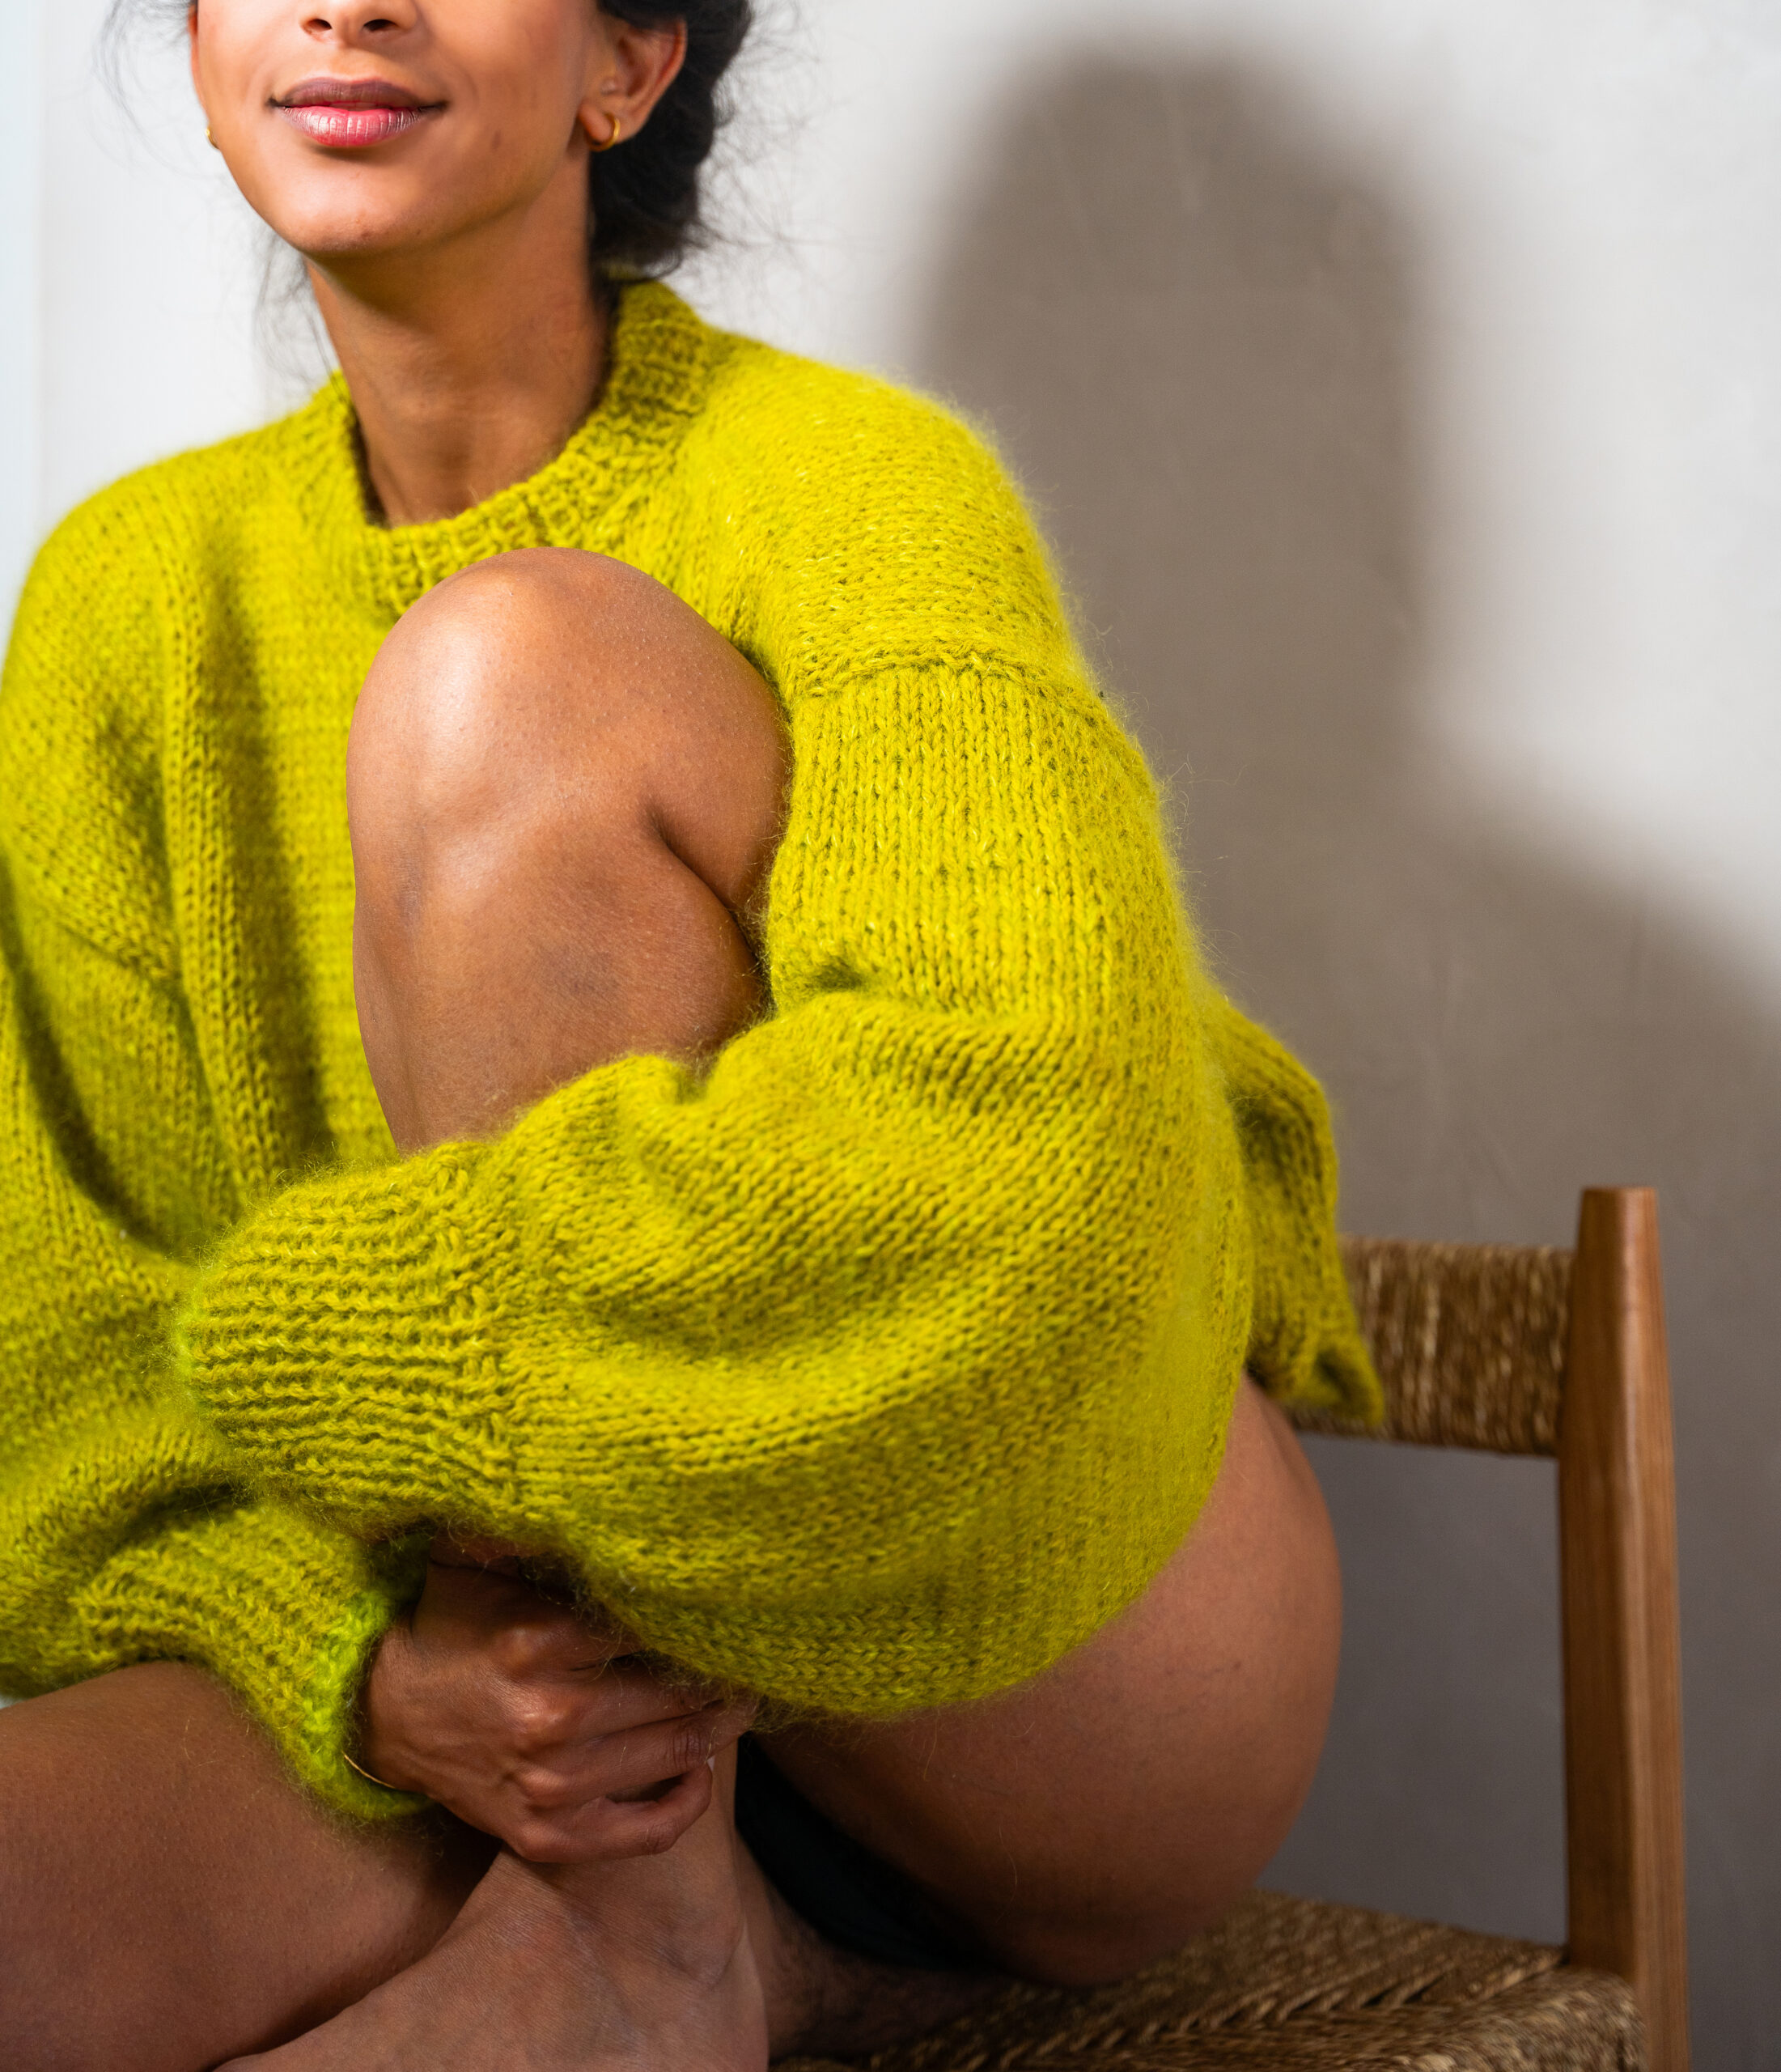
The 1×1 rib knitting technique, also known as the “knit one, purl one” rib, is a versatile and popular stitch pattern used for creating stretchy and textured fabrics. It’s commonly employed for hems, cuffs, and necklines, as it yields a professional-looking edge. In this tutorial, we’ll guide you through the steps to master this essential technique, perfect for both beginners and experienced knitters.
Video tutorial
Learn how to master the 1x1 rib knitting technique for a stretchy and professional-looking finish with our step-by-step guide.
Play Video
How-to guide
Step 1: Begin with the desired number of stitches already cast on to your needle using the cable cast-on technique. For a 1x1 rib, ensure that the total number of stitches is even.
Step 2: Make sure your yarn is at the back of your work
Step 3: Insert your right needle into the first stitch from the bottom to the top, knitwise.
Step 4: Wrap the yarn around the right needle, pull the loop through, and transfer it onto the right needle. This completes a knit stitch.
Step 5: Bring the yarn to the front of your work.
Step 6: Insert your right needle into the next stitch from top to bottom, purlwise.
Step 7: Wrap the yarn around the right needle, pull the loop through, and release the stitch. This completes a purl stitch.
Step 8: Repeat steps 2-7 until you have the desired amount of stitches on the needle
At Yearn, we understand that learning a new skill comes with its own set of questions and curiosities. Our FAQ section is meticulously crafted to provide you with immediate and comprehensive answers to your queries related to the specific skill you are exploring.
Whether you are a beginner embarking on a new journey or an experienced learner seeking to refine your knowledge, our FAQ section is here to guide you every step of the way.
Not finding the answer you were looking for? Send us an e-mail at [email protected] and we’ll get back to you as soon as possible.
How do you knit a 1x1 rib stitch?
To knit a 1×1 rib stitch, alternate between knitting one stitch and purling one stitch across each row. Keep the yarn at the back when knitting and bring it to the front when purling.
How many stitches for 1x1 rib?
You can cast on any even number of stitches for a 1×1 rib. Each pair of knit and purl stitches creates one repeat of the rib.
What does 1 x 1 rib mean in knitting?
A “1 1 rib” in knitting refers to a ribbing pattern where you alternate between one knit stitch and one purl stitch, creating a textured and stretchy fabric.
What is 1 x 1 rib with an odd number of stitches?
To create a 1×1 rib with an odd number of stitches, you’ll start with a knit stitch and end with a knit stitch on one row, and start with a purl stitch and end with a purl stitch on the next row. This maintains the 1×1 rib pattern.
How do you knit a 1 x 1 rib fast?
To knit a 1×1 rib faster, practice your knitting and purling techniques. As you become more proficient, your speed will naturally increase. Additionally, using larger needles and thicker yarn can also speed up your knitting.
How do you knit a rib stitch for beginners?
For beginners, knitting a rib stitch like the 1×1 rib is a great start. Simply alternate between knit and purl stitches, making sure to keep the yarn at the back for knitting and at the front for purling.
What is the difference between 1x1 rib stitch and 2x2 rib stitch?
The main difference is the number of stitches in each repeat. In a 1×1 rib stitch, you alternate between one knit and one purl stitch, while in a 2×2 rib stitch, you alternate between two knit and two purl stitches.
How do you knit a rib stitch with neat edges?
To achieve neat edges in a rib stitch, always maintain the same pattern at the beginning and end of each row. For example, if you start a row with a knit stitch, end it with a knit stitch as well.
Does 1 x 1 rib curl?
1×1 ribbing tends to lay flat and does not curl. It’s an excellent choice for projects where you want the edges to stay in place without rolling.